


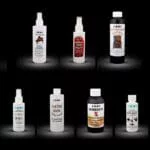
Humidifier Pad Treatment • Humidifier Pads • Watering...
Piano Life Saver: Systems • Humidifiers • Dehumidifiers...

Finest Touch-Up Products: Furniture • Pianos • Flooring...
Professional Furniture Products: Quickly remove imperfections and restore...

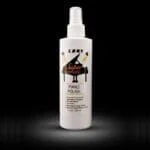
Protect Piano & Furniture Finishes — Polish &...

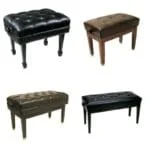
Quality — Craftsmanship — Tradition: Piano Benches •...

Clearance - Discontinued

Serving the Piano and Finish Trade since 1970:...
Standard — Duet — Petite — Petite Duet...
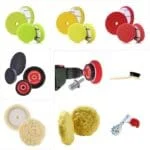
For Polishers & Drills: Menzerna Foam Pads •...
Humidifier Pad Treatment • Humidifier Pads • Watering...

Professional Service and Repair — Polyester and Furniture...
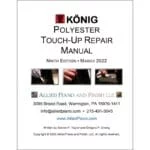
Comprehensive 52-Page Manual: Hard Copy with Quick Repair...
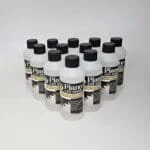
DC PT 8 oz 12-Pk 50945
In Stock
$91.80
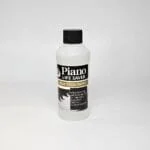
Humidifier Water Treatment — Case of 12 x 8 oz Bottles
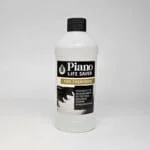
DC PT 16 oz 10506
In Stock
$12.20
Humidifier Water Treatment — Approx. 12 Months of Use
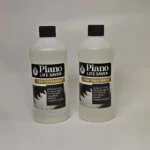
DC PT 16 oz 2-Pack
In Stock
$22.95
Humidifier Water Treatment — Approx. 24 Months of Use
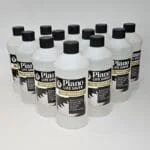
DC PT 16 oz 12-Pk 50944
In Stock
$123.95
Humidifier Water Treatment — Case of 12 x 16 oz Bottles
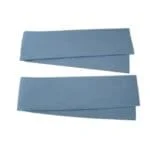
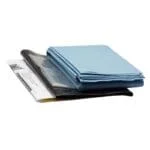
DC UHP-4 71044
In Stock
$12.90
4 Humidifier Pads — Black Liner — Clear Liner — 4 Clean Sleeves
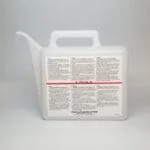
DC UT Watering Can 59030
In Stock
$28.50
Current Universal — Systems made from 2004 — Tube: 3/8" ID - 1/2" OD
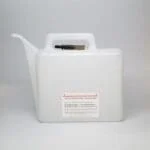
DC Watering Can w/ Red. 72611
In Stock
$34.50
Pre-Universal — Systems made before 2004 — Tube: 5/16" ID - 7/16" OD
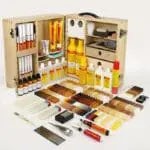
Finest Polyester Repair Available! Designed To Properly Repair These Beautiful Finishes
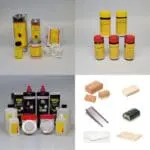
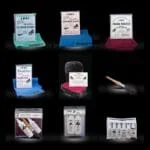
Traditional & Innovative Touch-Up Repair: Superior Products for Surface Repair

Best Repair Results — No Halo — Soft Fine Spray — Short Drying Time: Clear Topcoat...
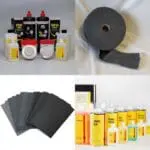
Professional Products: Cleaner • Refresher • Solvents • Sanding • Steel Wool
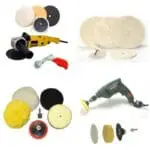
Professional Tools and Accessories: For Polisher and Drill • Buffing Pads and Wheels

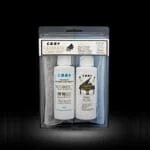
Convenient Service Kit Sizes: Heavy & Medium Compound • Finish & Final Finish Polish
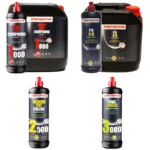
For Shop and Refills: Heavy & Medium Compound • Finish & Final Finish Polish
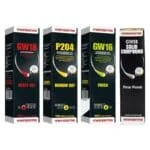
For Power Buffing Wheels: Heavy & Medium Compound • Finish & Final Finish Polish
For Polishers & Drills: Menzerna Foam Pads • Superbuff & Wool Pads • Accessories
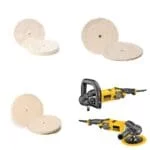
For Professional Polishers: Loose • Canton • Concentric • Spiral
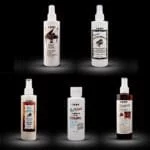
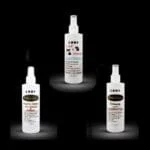
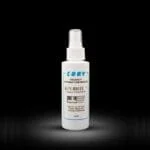
Super High-Gloss • Satin Sheen • Revive • All-Brite • Detailing Oil
Key-Brite • Pre-Polish • Satin-Rub • Coconut Cleaner • Scratch-Brite • Adhesive-Remover • Buff-Brite
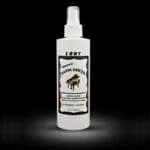
Animal Urine Defeater • Mold & Mildew Odor Eliminator • Tobacco Odor Eliminator
Cleaning & Polishing Cloths • Mega-Duster • Dust-N-Buff Mitt • Pinblock-Brush • Cleaning Kits
In Stock
$6.25 – $85.45
Clean and Protect Finishes — 4 oz • 8 oz • 32 oz • Gallon
In Stock
$6.25 – $95.42
Maintain Satin Finishes Easily — 4 oz • 8 oz • 32 oz • Gallon
In Stock
$5.42 – $80.42
Clean • Brighten • Plastic & Ivory Keys — 4 oz • 8 oz • 32 oz • Gallon
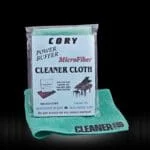
CO CC-1 14" x 14" Cloth
In Stock
$4.75
Soft, Thick Microfiber Cloth for Cleaner Products — 14" x 14"
Standard — Duet — Petite — Petite Duet — Adjustable w/Storage — Hydraulic Bench...
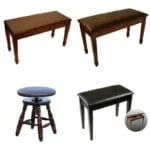
Grand — Upright — School 'Stretcher' — Digital — Organ — Swivel Stools Free...
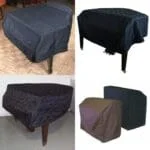
Grand Mackintosh and Vinyl — Nylon Padded — Cotton Padded — Upright Mackintosh Free...
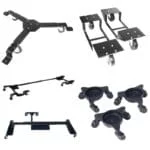
Grand Piano Truck — Leg Dollies: Round and Square — Upright Piano Dollies Free...
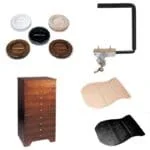
Caster Cups: Hardwood and Plastic — Fallboard Locks — Save-A-Rug — Sheet Music Cabinet
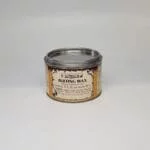
Clearance - Discontinued
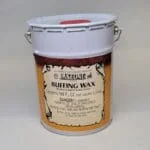
Clearance - Discontinued

Rapid French Polish Clearance - Discontinued
Revive — Clean — Polish: Mild Finish Cleanser • Medium Finish Restorer • Heavy-Duty Deep Cleaner...
Comprehensive 52-Page Manual: Hard Copy with Quick Repair Guide -or- FREE PDF Digital Download
Professional Service and Repair — Polyester and Furniture Finish — Piano and Player Systems Go to...
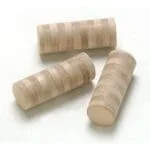
Repair Loose Tuning Pins: Northern Maple 3/8" • 1/2" — Delignit Beech 3/8" • 1/2"
Professional Abrasives: Sandpaper • Sanding Pads • Steel Wool • Liquid Sandpaper • Sanding Lubricant
Professional Tools and Accessories: For Polisher and Drill • Buffing Pads and Wheels