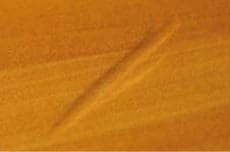
Pressure Marks
Browse:
STEP 1
STEP 2
STEP 3

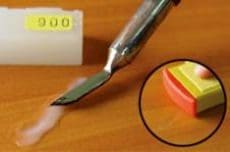
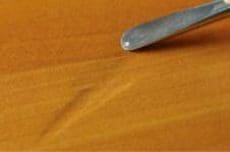
Fill pressure marks with transparent Hard Wax (900-Light Transparent or 901-Yellow Transparent) and the Hot Knife.
Using the knife blade improves spreading of the wax without creating too high of a projection.
Remove surplus wax with the Special Filler Applicator.
Note: Sharp grooves on the flat surface, round grooves at the edges.
STEP 4

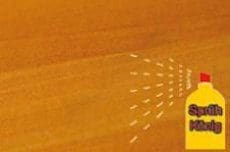
Seal filled damage by misting with Special Repair Lacquer from a distance of 12-16 inches – do not spray too wet.
Products required:


