STEP 1
STEP 2

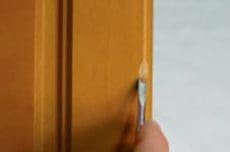
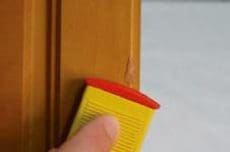
Remove damaged edges using the Edge Planer so that no sharp edge will be left.
Products required:
STEP 3
STEP 4
STEP 5

Remove excess wax with the Special Filler Applicator.
Note: Sharp grooves on the flat surface, round grooves at edges. Shiny spots can be reduced by using Premium Wire Wool.
STEP 6

Make an intermediate sealing by misting with Special Repair Lacquer from a distance of 12-16 inches – do not spray too wet.
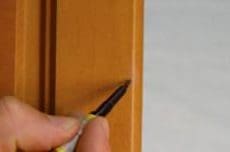
Restore the grain with the Graining Pen.
STEP 7

Seal completed repair by misting with Special Repair Lacquer from a distance of 12-16 inches – do not spray too wet.
Products required: